how to install windows 10 theme for windows 7

Are you still a Windows 7 user? You may still be using Windows 7 because your computer is not qualified enough to install Windows 10. you can install a theme in Windows 10 for Windows 7. Then you will be able to get the look of Windows 10 for Windows 7. This theme works for Windows 7 32- and 64-bit versions. How to install Windows 7 theme for Windows 10 step by step is mentioned below.
image
Step 1
Download the windows 10 theme pack (zip file) from the link below
.png)
Step 2
Extract the zip file (password is sltechdroid)
.png)
.png)
Open the extracted file
Step 3
Open the universal theme patcher folder there.Then run the software related to your windows version (32bit or 64bit).
.png)
In the opened windows. Click on patch in all three.

Step 4
After that, open the theme resource changer folder.
.png)
As before, run the software related to your windows version. (32bit or 64bit)
Then install it

Step 5
Next, open the "windows 10 theme for windows 7" folder.
Now go to Windows 10 Themes and copy the themes there and paste them into the relevant folder as shown below (do this as indicated by the arrows)
"windows 10 theme for windows 7" folder >>> windows 10 themes >>> copy all themes >>> C Drive >>> windows >>> Resources >>> themes >>> paste all themes


After that, when you go to personalise, you can take care of these theisms. Now apply a Windows 10 theme of your choice from here.


Step 6
Now let's see how to add Windows 10 boot screen to Windows 7

The first thing to do is to open the "windows 10 theme for windows 7" folder again and open the win7bootupdater software there.
Then go to File at the top and click on load boot skin. Then go to the location where the Windows 10 boot screen is located and open the boot screen file. (do this as indicated by the arrows)
"windows 10 theme for windows 7" folder >>> Windows 10 Extras >>> Boot Screen


After it opens, click the Apply button below.

Step 7
The next thing is to install some fonts for windows 10. (This is not mandatory) They are in the "windows 10 theme for windows 7" folder. If you like that too, install it.

Step 8
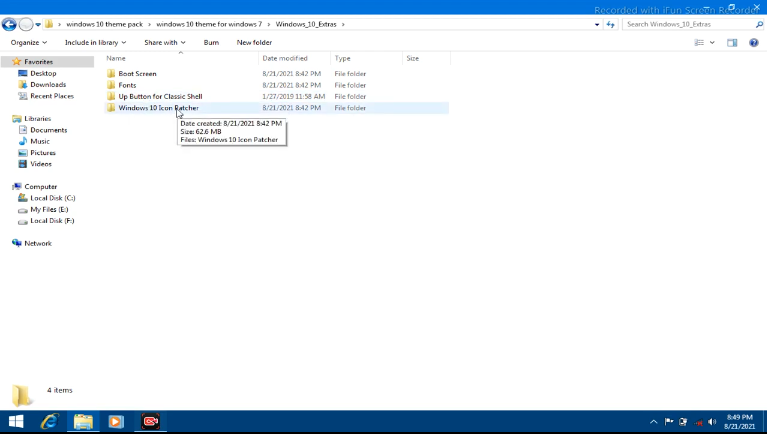
Now let's see how to change Windows 7 icons like windows 10 icons.

Go to "windows 10 theme for windows 7" folder again and open the windows 10 icon patcher folder there.
Then open the software inside it.
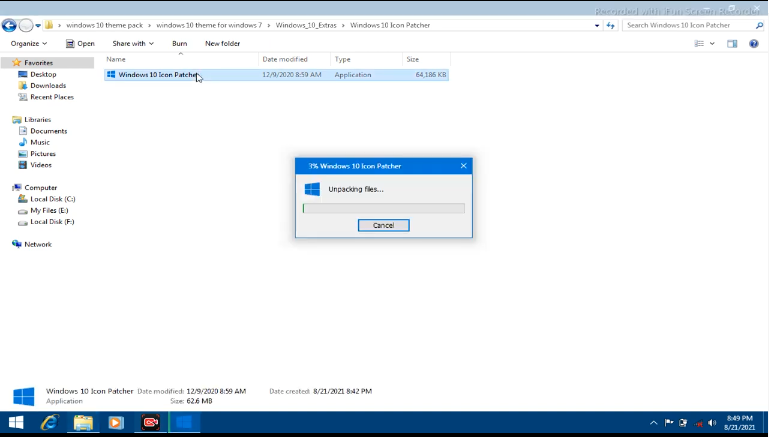
After that, this software will be installed and an icon will be created on the desktop. Right click on that icon and select run as administrator.

After that a cmd will open. To change the icon, click 1 and enter. After that it asks to restart the computer, now click y and enter. After being Restart, you can see that the icon has changed.

Step 9
Next, let's see how to change the log on, log out screen.

Follow the previous steps again. Now click on number 3 and enter. After a while it will ask you to restart the computer, now click y and enter again. Now you can take care of the log on, log out screen has changed.

Step 10
Now the most important part is to change the Start Menu. Now let's see how to add Windows 10 start menu to Windows 7.

First you have to go to the link below and install this software called "Start Menu 10".
.png)

While installing it, you will be asked whether you want the pro version or the free version, so you can use the free version without any problem.


After installing it, you can look after it in a very similar way to the Windows 10 start menu
is
ReplyDelete